
You've got your RAW cones, your grinder, your lighter, but where do you keep it all? A kitchen drawer or random shoebox works until it doesn't. Maybe you need something more discreet for guests, or you're tired of your stash drying out because it's not sealed properly. Either way, a good DIY stash box solves the problem, and the best diy stash box ideas don't require woodworking skills or a big budget.
Building your own stash box lets you customize everything, the size, the smell-proofing, the look, and exactly what fits inside. Whether you want something that hides in plain sight on a bookshelf or a portable kit that locks tight, a DIY approach means you get storage that actually matches how you smoke.
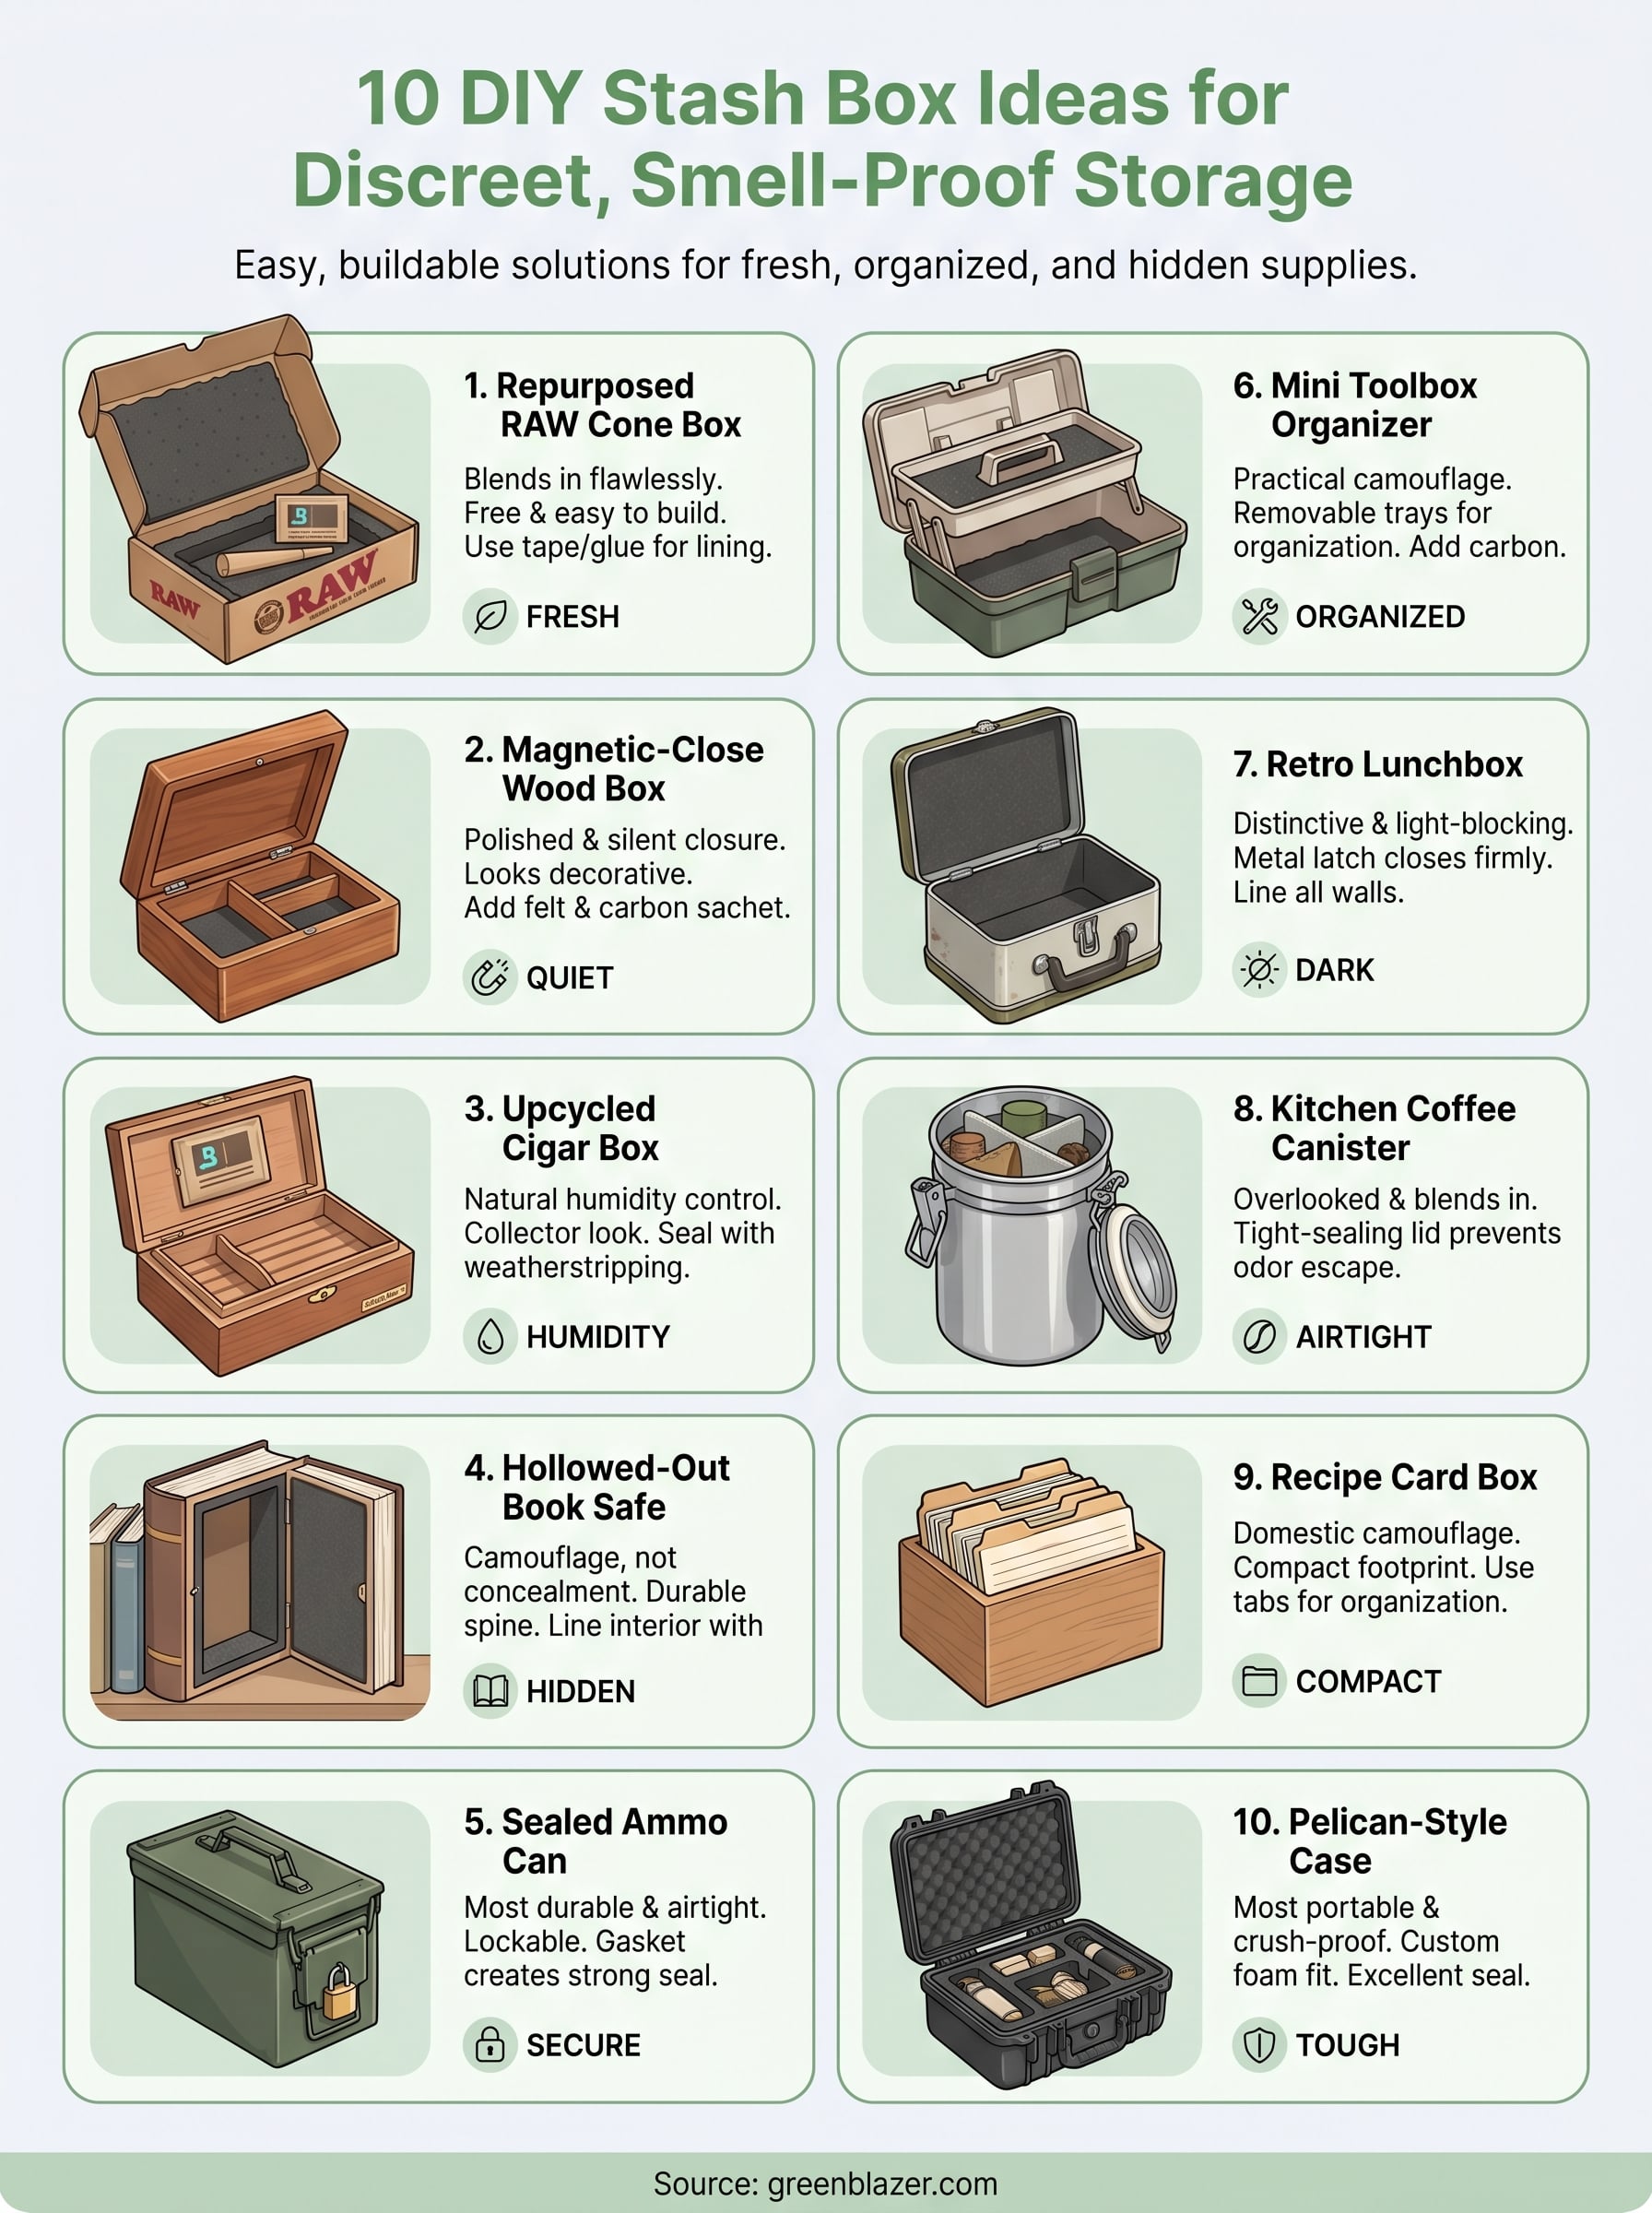
At Green Blazer, we're an authorized RAW distributor based in Las Vegas, and we sell everything from pre-rolled cones to rolling accessories. We know that keeping your supplies organized and fresh matters just as much as the quality of what you're smoking. That's why we put together this list of 10 practical, buildable stash box ideas, each one designed to be discreet, smell-proof, and functional enough to hold your cones, grinder, lighter, and whatever else you reach for during a session.
1. Repurposed RAW cone box stash kit
The easiest stash box you can build is already sitting in your recycle bin. RAW cone boxes, specifically the larger 800-count or 1400-count bulk packaging, are thick, sturdy, and sized perfectly to hold a full session kit. This is one of the most accessible diy stash box ideas because it costs nothing extra and takes about 20 minutes to finish.
Why this works for discreet storage
A RAW box looks exactly like what it is: a box of cones. Nobody questions it, and it does not attract attention the way a locked case or obvious smell-proof pouch might. The natural kraft paper exterior blends into any shelf or desk without standing out to guests or roommates.
What you need
You need a large empty RAW cone box (800-count or bigger works best), a foam sheet or felt cut to size, a small zip-lock bag or silicone container for herb storage, scissors, and double-sided tape or craft glue. A small Boveda humidity pack is optional but worth adding.
Build steps
Cut your foam or felt sheet to fit flat along the bottom of the box. Press it down firmly with tape or glue and let it set for 10 minutes. Then divide the remaining space with a folded cardboard divider cut from the box's own flaps. Slot your supplies into each zone before closing the lid.
Once you add a humidity pack and a snug interior liner, this simple box delivers solid freshness and organization with almost no effort or cost.
How to organize cones and small accessories
Stand your RAW cones upright in the back section using a small paper tube or a rolled cardboard ring as a holder. Keep your lighter, tips, and compact grinder flat in the front section. Label each zone with a strip of masking tape if you share the box with a friend or partner.
How to improve odor control
Place a 67g Boveda pack flat on the liner to regulate humidity and reduce escaping smell. Seal the lid shut with a wide rubber band or a strip of painter's tape along the seam for an extra layer of odor containment between sessions.
Cost and time
Total cost: $0 to $5 depending on whether you pick up a humidity pack. Build time runs under 20 minutes, and you already have the main material if you order RAW cones in bulk from Green Blazer.
2. Magnetic-close wooden craft box
A small wooden craft box with a magnetic closure sits on any shelf or desk without looking out of place. Craft stores and online retailers carry these in sizes from 6x4 inches up to 10x7 inches, and the clean exterior reads as a keepsake box to anyone who glances at it. This is one of the more polished diy stash box ideas on this list and takes under an hour to build.
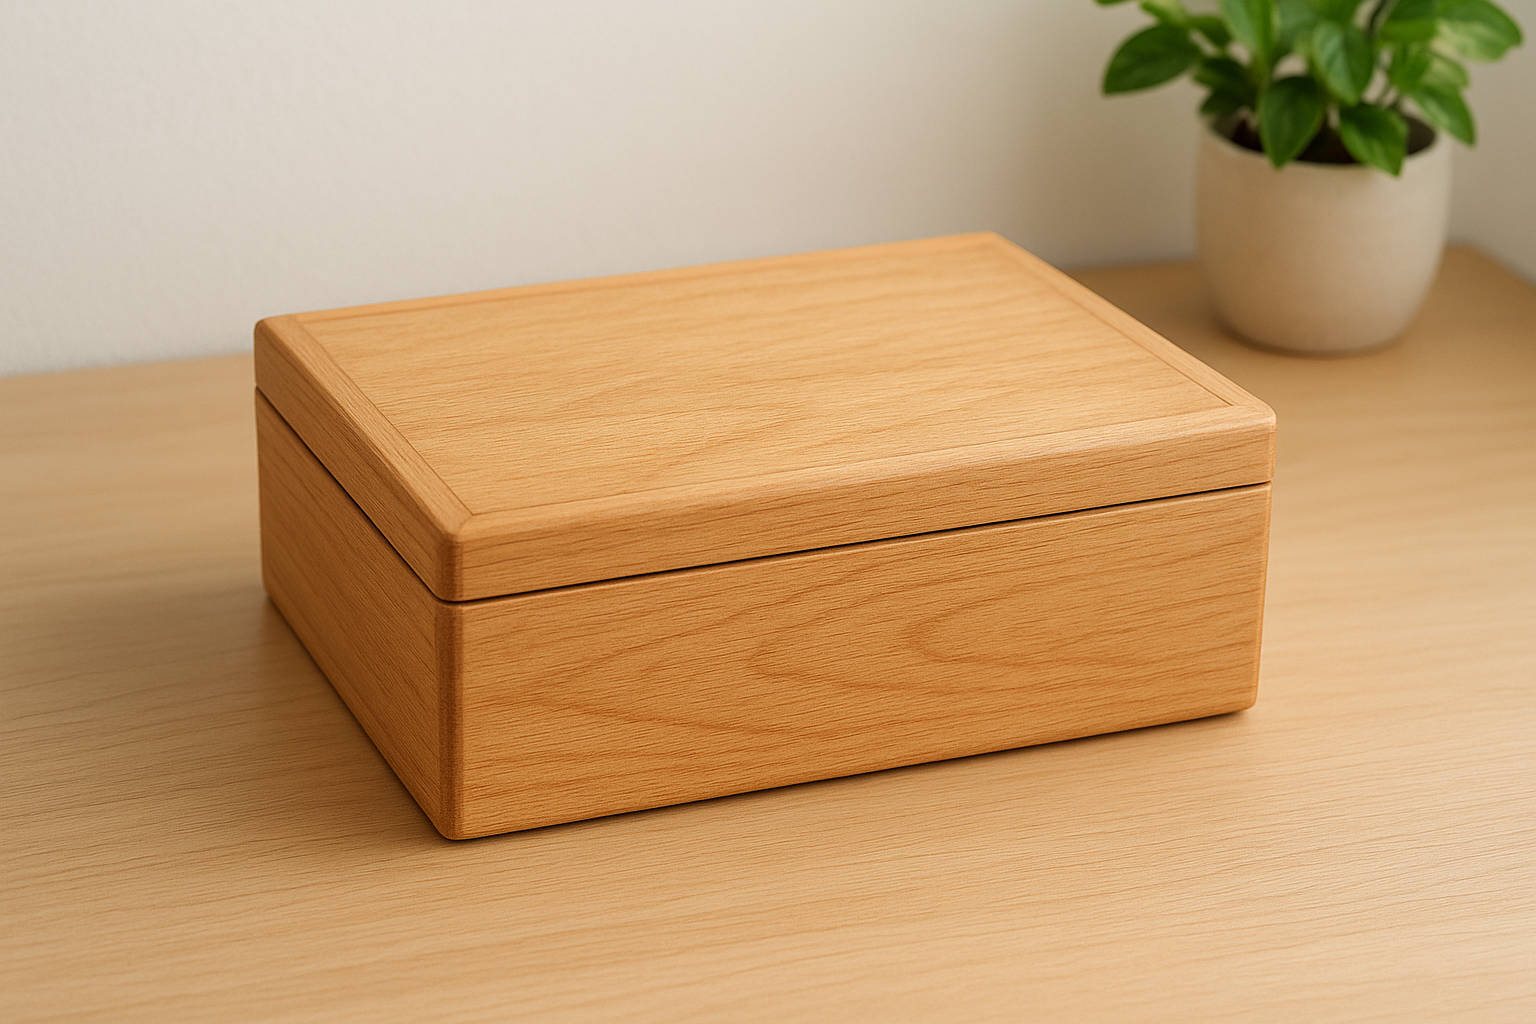
Why this works for discreet storage
A wooden box with a magnetic lid closes flush and silently, so there's no zipper noise or click to draw attention. The natural wood grain looks intentional and decorative rather than suspicious, which makes it work in living rooms, bedrooms, or home offices without standing out.
What you need
You need an unfinished or pre-stained magnetic-close wooden craft box, craft felt or thin foam sheeting, a ruler, scissors, super glue, and a small activated carbon odor bag that fits inside without eating up usable space.
Build steps
Measure the interior floor and cut felt or foam to fit flat. Glue it down and let it cure for 15 minutes. Then cut a thin balsa wood strip to create a center divider and glue it upright for basic organization.
How to add compartments and dividers
Cut additional balsa strips to the internal height of the box and arrange them in a grid sized for your lighter, cones, and grinder. Use super glue at each contact point and let everything set fully before loading anything in.
A snug divider grid keeps supplies from shifting and cuts down on the rattle that gives away a stash box during transport.
How to improve odor control
Tuck a small activated carbon sachet into one corner. You can also run a thin bead of food-safe silicone sealant along the interior lid seam to reduce odor escaping between sessions.
Cost and time
Total cost runs $8 to $18 depending on box finish. Build time is 30 to 45 minutes, including glue drying time.
3. Upcycled cigar box with a humidity slot
Cigar boxes are one of the most underrated containers for DIY stash box ideas. They're built to manage humidity, which means the cedar lining already does half the work for you before you add a single modification.
Why this works for discreet storage
A cigar box reads as a collector's item or keepsake on any shelf. Nobody opens a cigar box expecting to find a smoking kit, and the natural wood exterior gives it a polished, intentional appearance that keeps it from drawing attention in a living room or home office.
What you need
You need a few basic supplies to complete this build:
- Empty wooden cigar box (cedar-lined preferred)
- Utility knife and ruler
- Craft felt or thin foam sheeting
- Super glue
- 62g Boveda humidity pack for freshness control
Build steps
Line the interior floor with cut felt or foam and secure it with super glue. Let it cure fully before placing anything inside. Press the lining flat against all edges so supplies sit stable and do not shift.
A cedar-lined cigar box naturally buffers humidity swings, which makes it one of the best base materials for a stash box build.
How to add a humidity pack holder
Cut a small foam pocket sized to hold your humidity pack flush against the inside lid. Glue it in place and slide the pack in so it stays secure without blocking your stored items below.
How to improve odor control
Seal the exterior seam with a thin strip of weatherstripping foam tape cut to the lid perimeter. This creates a tighter closure and slows odor from escaping between sessions.
Cost and time
Total cost runs $5 to $12. Build time is under 30 minutes, especially if you already have an empty cigar box on hand.
4. Hollowed-out book safe
A hollowed-out book is one of the most time-tested diy stash box ideas on this list. It sits on a shelf with every other book you own, and nobody gives it a second look. The thick spine and hard cover make it surprisingly durable once you finish the build correctly.
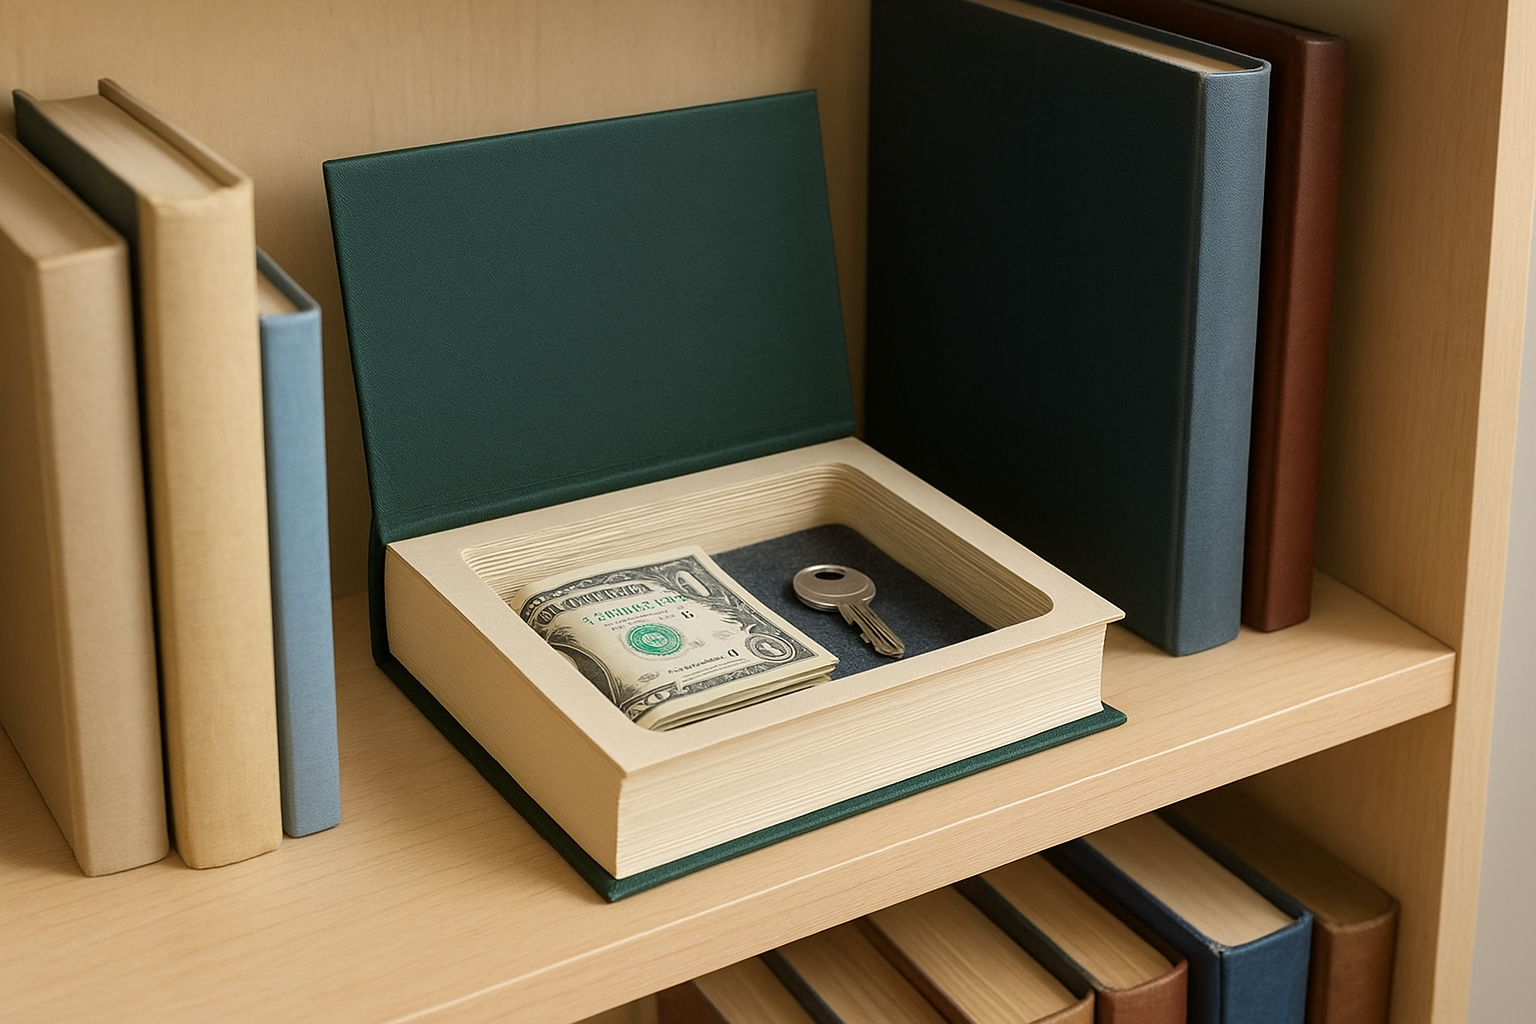
Why this works for discreet storage
A book safe works because it relies on camouflage, not concealment. Any hardcover book placed on a shelf with other books reads as completely ordinary. The visual context of a bookshelf does the hiding for you, which makes this one of the most low-profile storage options available without spending money on a specialty product.
What you need
You need a thick hardcover book (at least 300 pages), a craft knife, a ruler, PVA glue, a brush, and a small binder clip. A thin piece of felt or foam cut to the interior size keeps items from scratching around inside.
Build steps
Brush a diluted PVA glue mixture along all three outer edges of the page block, leaving the first 20 pages loose as a cover. Once dry, cut a rectangular cavity through the glued pages using your craft knife and ruler. Remove the cut block cleanly and sand the interior walls smooth.
Keeping the first 20 pages loose means the book opens naturally before revealing the hidden compartment, which adds a real layer of misdirection.
How to reinforce the edges and spine
Apply a second coat of undiluted PVA glue to all interior cut edges and let it dry fully. This hardens the paper walls so they hold their shape and resist tearing when you reach in repeatedly.
How to improve odor control
Line the interior with thin adhesive foam sheeting cut to fit each wall. Seal the top edge of the foam with a strip of craft tape to lock in the lining and slow odor from escaping through the paper walls.
Cost and time
Total cost runs $0 to $6 if you use a book you already own. Build time is 45 to 60 minutes, mostly waiting for glue layers to cure between steps.
5. Sealed ammo can stash box
A military-surplus ammo can is one of the most durable diy stash box ideas on this list. These steel containers ship with a rubber-gasketed lid that creates a near-airtight seal right out of the box, which gives you a strong smell-proof foundation before you add a single modification.
Why this works for discreet storage
An ammo can reads as a utility or camping item to anyone who sees it. It blends into a garage, truck bed, or closet shelf without questions, and the heavy steel body is significantly harder to access than a wooden box or fabric pouch.
What you need
You need a surplus ammo can (30-caliber or 50-caliber), thin foam sheeting, scissors, adhesive strips, and a small combination padlock sized to fit the carry handle loop.
Build steps
Cut foam sheeting to fit the floor and side walls. Press each piece firmly against the metal using adhesive strips. Let everything sit for a few minutes before loading any supplies.
The factory rubber gasket on a surplus ammo can outperforms most foam-lined DIY seals without any modification.
How to add padding and a simple lock point
Thread a small padlock through the carry handle and latch loop to secure the lid. Cut additional foam inserts to hold your cones, lighter, and grinder firmly without shifting during transport.
How to improve odor control
Place a 62g Boveda pack flat on the foam floor. The rubber gasket handles most containment, but a humidity pack adds freshness control that keeps your cones from drying out between sessions.
Cost and time
Total cost runs $15 to $30 for the can, foam, and a padlock. Build time is under 20 minutes, making this one of the fastest builds on this list.
6. Mini toolbox organizer box
A small plastic or metal mini toolbox is one of the more practical diy stash box ideas on this list. These compact organizers are available at any hardware store for under $15, and they come with removable tray inserts that make organizing a full session kit straightforward.
Why this works for discreet storage
A mini toolbox sits naturally in a garage, workshop, or closet without raising questions. Anyone who sees it assumes it holds screws, batteries, or small tools, which makes it one of the best camouflage-style storage options you can build without any specialty materials.
What you need
You need a mini toolbox with a removable top tray, adhesive foam sheeting, scissors, and a small activated carbon sachet. A padlock with a shackle sized to fit the toolbox latch adds quick security without modification.
Build steps
Cut adhesive foam to line the bottom compartment and press it firmly into place. Do the same for the tray insert if the plastic surface feels rough or allows items to slide around during transport.
Lining both the tray and the lower compartment prevents your cones and accessories from rattling, which is one of the most common ways a stash box gives itself away.
How to use trays for a clean setup
Place your RAW cones flat in the lower compartment and use the top tray for small items like a lighter, tips, and a grinder. The physical separation between trays keeps everything organized without needing additional dividers.
How to improve odor control
Drop a small carbon sachet into the lower compartment alongside your supplies. Seal the latch loop with a rubber band between sessions to reduce odor from escaping through the lid gap.
Cost and time
Total cost runs $10 to $20 including foam and a padlock. Build time is under 15 minutes.
7. Retro lunchbox with a carbon liner
A vintage metal lunchbox is one of the more visually distinctive diy stash box ideas on this list. These tins close with a firm metal latch that reduces lid gaps, and the nostalgic look means they sit naturally on a desk or shelf without attracting attention.
Why this works for discreet storage
A retro lunchbox reads as a collector's item or display piece, not a storage container anyone would think to open. The metal shell blocks light and keeps internal smells from spreading as freely as they would through a fabric pouch or open wooden box.
What you need
You need a vintage or reproduction metal lunchbox, activated carbon felt sheeting, scissors, adhesive strips, and a small Boveda humidity pack. Carbon felt is available in sheets online and cuts cleanly with standard scissors.
Build steps
Cut carbon felt to cover the full interior floor and all four walls. Press each piece firmly using adhesive strips and smooth out any bubbles before letting it set. Work wall by wall so the lining stays flat against the metal.
A full carbon felt liner on all interior surfaces cuts odor significantly better than a single sachet sitting loose inside the box.
How to add a removable liner for easy cleaning
Cut a secondary felt layer sized to the floor only and leave it unglued. This removable insert catches residue and debris, so you can lift it out and shake it clean without disturbing the adhesive wall panels.
How to improve odor control
Tuck a 62g Boveda pack under the removable floor insert to regulate humidity and reduce dryness between sessions. Close the metal latch fully after each use to limit air exchange.
Cost and time
Total cost runs $12 to $25 depending on the lunchbox source and carbon felt quantity. Build time is under 30 minutes.
8. Kitchen coffee canister stash
A stainless steel or ceramic coffee canister is one of the most overlooked diy stash box ideas on this list. These containers sit openly on kitchen counters and shelves, and the tight-sealing lids that make them great for coffee do exactly the same job for storing cones and accessories.
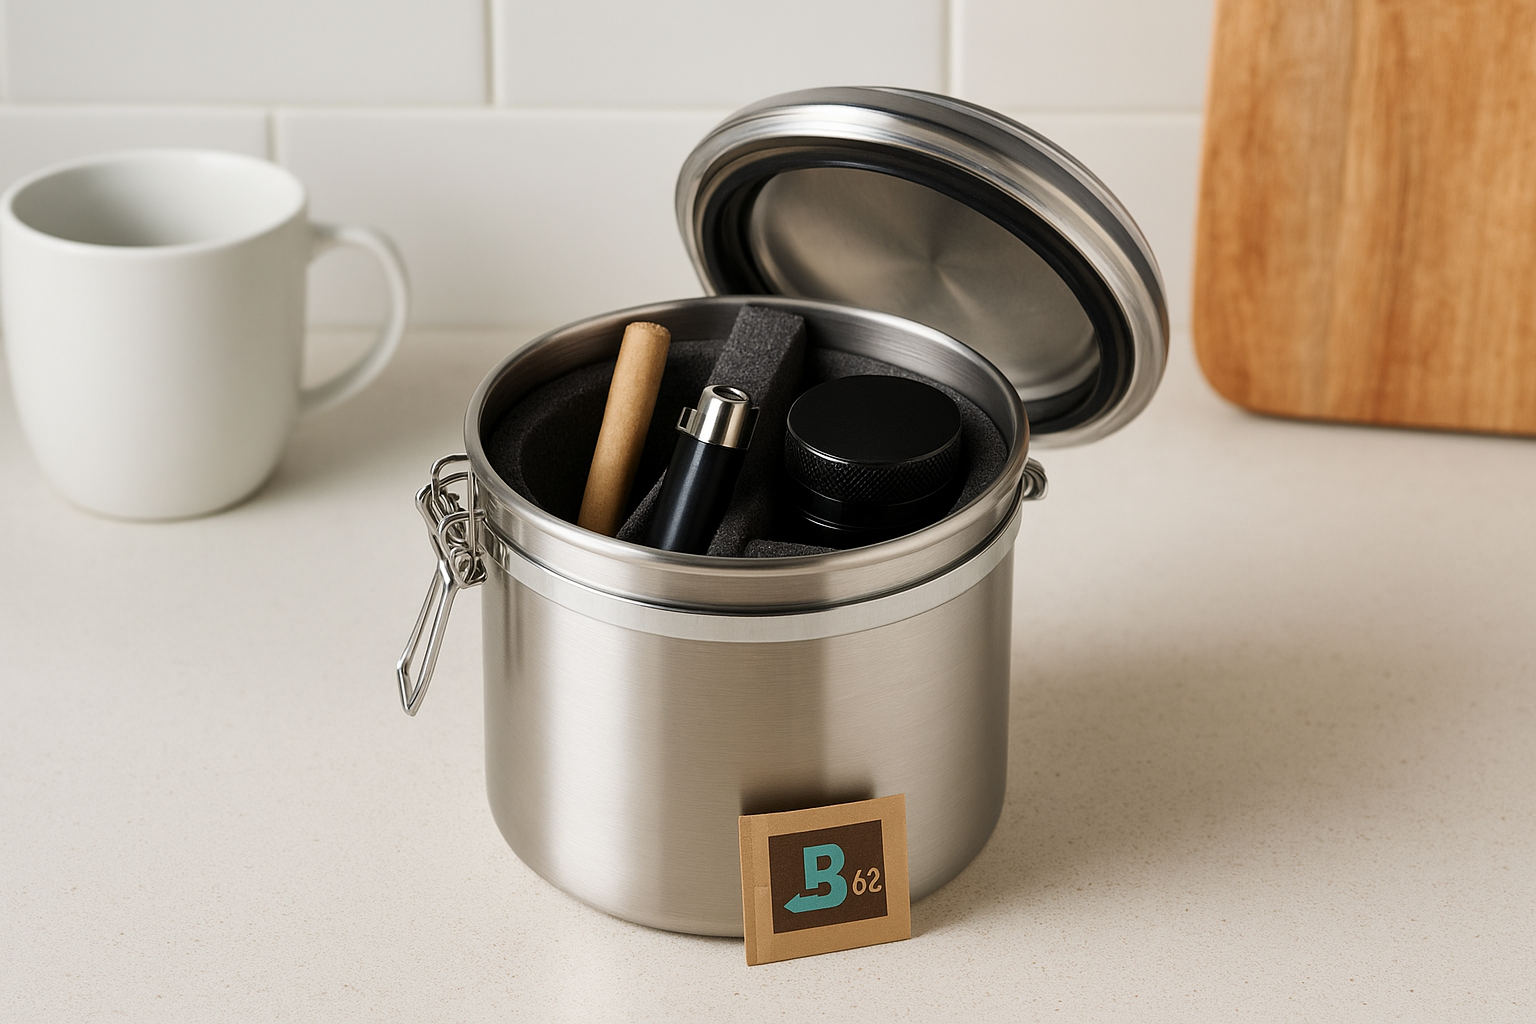
Why this works for discreet storage
A coffee canister blends into any kitchen or office space without drawing a second glance. The thick metal or ceramic walls contain odor far better than cardboard or fabric, and the lid design on most canisters creates a near-airtight closure without any modification.
What you need
You need a stainless steel or ceramic coffee canister with a clamp or screw lid, thin foam sheeting, adhesive strips, and a small 62g Boveda humidity pack. A rubber band or silicone gasket strip is optional but useful.
Build steps
Cut foam sheeting to fit the floor of the canister and press it down firmly using adhesive strips. Let it set for 10 minutes before loading anything inside.
The clamp-seal lid found on most coffee canisters creates a tighter closure than most purpose-built stash containers at the same price point.
How to keep items from rattling
Cut vertical foam dividers sized to the canister height and press them in to separate your cones, lighter, and grinder. This stops supplies from shifting and knocking together each time you pick up the canister.
How to improve odor control
Drop a 62g Boveda pack on top of the foam floor before loading your supplies. The sealed lid handles most containment, but the humidity pack keeps cones fresh and prevents the canister from developing a stale smell over time.
Cost and time
Total cost runs $10 to $22 depending on canister style. Build time is under 15 minutes.
9. Recipe card box desk stash
A recipe card box is one of the most underestimated diy stash box ideas available. These small, lidded boxes sit naturally on kitchen counters and desks, and their compact footprint makes them easy to tuck next to a coffee maker or between books without drawing any attention.
Why this works for discreet storage
A recipe box signals domestic utility, not storage secrecy. Anyone who spots it assumes it holds index cards, coupons, or small papers, which means it passes a casual visual check without raising questions. The hinged or sliding lid on most recipe boxes also creates a fairly snug closure that limits odor spread between sessions.
What you need
Gather a recipe card box with a solid lid, adhesive foam sheeting, small index card dividers, scissors, and a small activated carbon sachet to manage odor inside the box.
Build steps
Cut foam sheeting to line the floor of the box and press it flat with adhesive. Let it set for 10 minutes, then slide your dividers into position before loading supplies.
A lined recipe box with tabbed dividers keeps your session kit organized and fully contained in a container that nobody thinks twice about opening.
How to label and separate small items
Use tabbed index card dividers to separate cones, tips, and a lighter into clearly marked zones. Write short labels on each tab in pencil so you can update the layout as your kit changes.
How to improve odor control
Drop a small carbon sachet into the back section of the box. Keep the lid fully closed after each session to prevent odor from building up around your desk.
Cost and time
Total cost runs $5 to $14 depending on box material. Build time is under 10 minutes.
10. Pelican-style protective case with foam insert
A Pelican-style hard-shell case is the most durable and portable option among all the diy stash box ideas on this list. These injection-molded cases are built to protect fragile equipment, which means they handle drops, pressure, and travel far better than any wooden or cardboard alternative.
Why this works for discreet storage
A hard-shell case reads as camera gear, electronics, or tools to anyone who sees it. The exterior gives nothing away, and the locking latch system adds a physical barrier that most casual observers will not bother questioning.
What you need
You need a Pelican or Pelican-style hard case in a compact size (1150 or 1200 series work well), a sheet of pick-and-pull foam, scissors, and a small 62g Boveda humidity pack.
Build steps
Open the case and remove any existing foam layers that came pre-installed. Lay your supplies on the fresh foam sheet to mark their positions, then set them aside before you start cutting.
Tracing your actual items onto the foam before cutting guarantees a tight, rattle-free fit that keeps everything locked in place during transport.
How to cut foam for a snug, silent fit
Use scissors or a craft knife to cut each cavity slightly smaller than your traced outline. The foam compresses slightly, so a snug cut holds items firmly without crushing them.
How to improve odor control
The rubber gasket seal on the case lid handles most odor containment on its own. Add a Boveda pack into one foam cavity to manage humidity and keep your cones fresh.
Cost and time
Total cost runs $25 to $45 for the case and foam sheet. Build time is under 20 minutes.
Quick wrap-up
Every diy stash box ideas build on this list works because it solves a real problem: keeping your supplies fresh, organized, and out of plain sight without spending a lot of money or time. Whether you grab a surplus ammo can or repurpose a coffee canister, the core principles stay the same. A tight seal, a humidity pack, and a logical layout turn any container into a functional storage setup.
Your supplies deserve the same quality of care as the products you put inside them. RAW cones stay freshest when they're sealed away from air and humidity swings, which is exactly what these builds deliver. Once your stash box is ready, stock it with the real thing. Browse RAW pre-rolled cones and bulk accessories at Green Blazer and get your kit set up with authentic RAW products shipped fast from Las Vegas.