

A harsh, uneven hit usually comes down to one thing: how you loaded the bowl in the first place. Learning how to pack a bowl correctly is the difference between a smooth, flavorful session and coughing your way through a canoed, ash-filled mess, the same uneven burn problem that canoeing causes in cones. It sounds simple, but most people either pack too tight, too loose, or skip the grinding step entirely, and that's where the problems start.
This guide walks you through the exact process, from grinding your flower to the right consistency to layering it into the bowl so airflow stays consistent from the first hit to the last. You'll also learn how to spot the signs of a bad pack, like a clogged airway or flower that burns unevenly, and how to fix them before you strike a lighter.
We cover the tools that actually matter, the grind size that works best for pipes versus bongs, and the packing technique pros use to get an even burn every time. If you're the type who prefers pre-rolled convenience over grinding and packing altogether, our beginner's walkthrough for using RAW cones is worth a look, but for everyone else, here's how to get it right by hand.
What you need to pack a bowl
Before you even touch your flower, get your setup right. A good pack starts with the right gear, and skipping any of these pieces is how people end up with a bowl that burns down in three hits instead of ten.
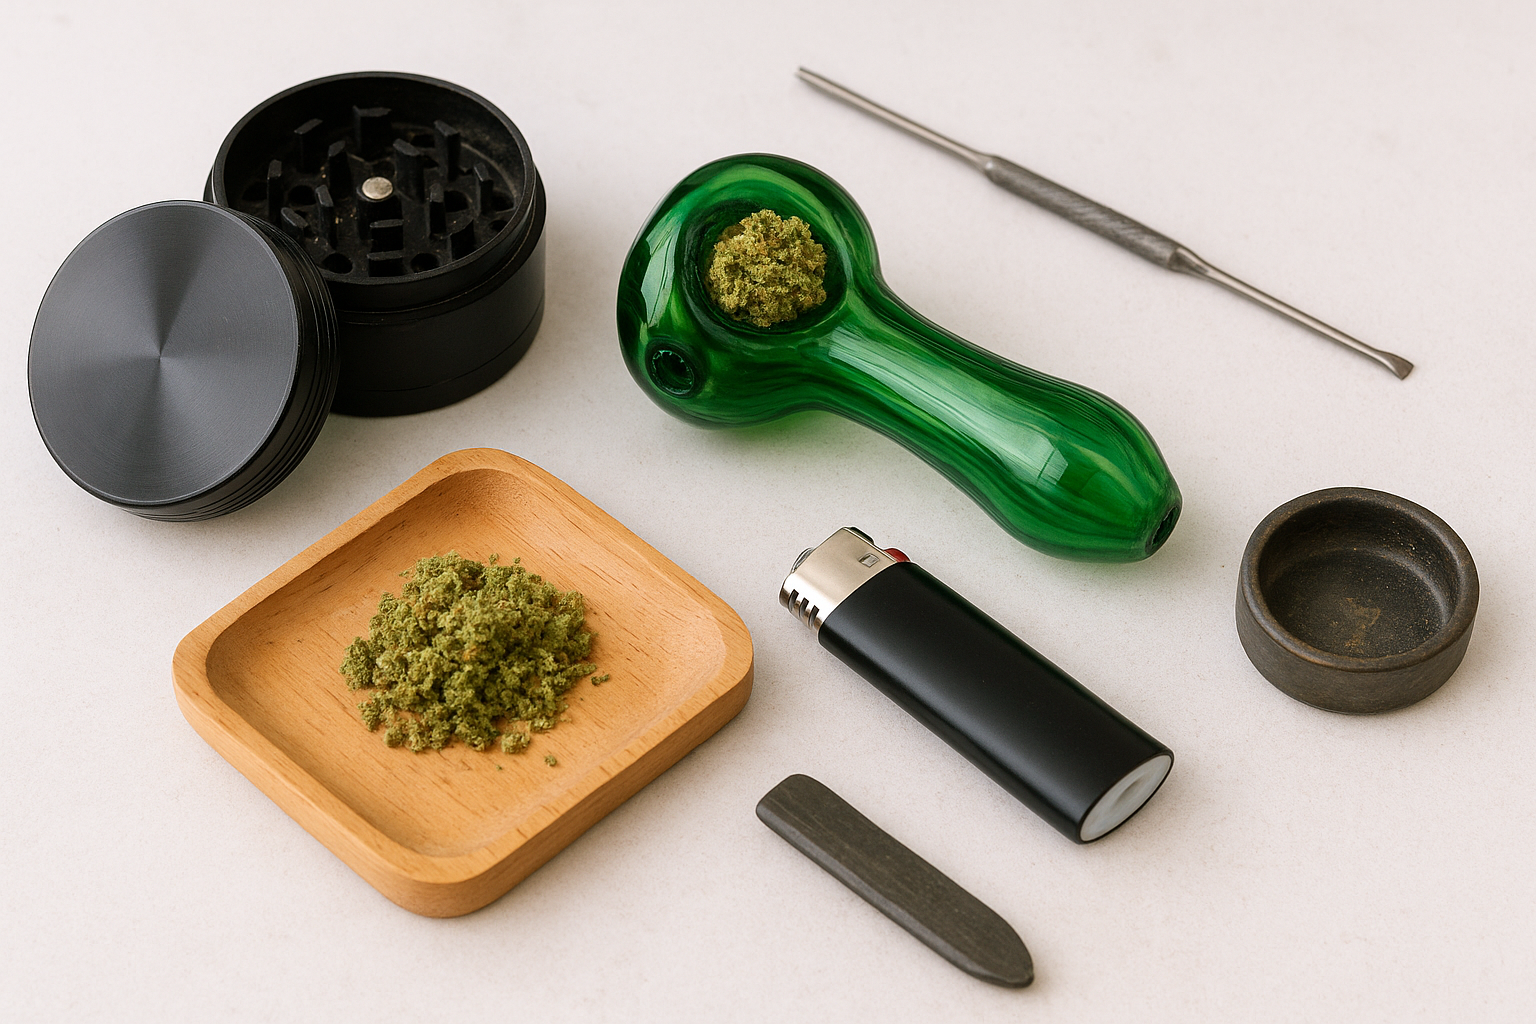
Grinders come first. A quality grinder with a kief catcher breaks down your flower evenly, which matters more than most people realize. Hand-breaking buds leaves you with a mix of dense chunks and loose shreds that burn at different rates, and that's the root cause of most canoeing problems.
You also need the piece itself, whether that's a glass pipe, a bong, or a spoon, plus a poker or dabber tool to clear clogs and repack mid-session. A lighter or hemp wick rounds out the basics. Skip the torch lighter for flower; it burns too hot and scorches the top layer before the rest even ignites.
The tools you use matter less than using them the same way every time.
Here's a quick rundown of what you need and why each piece matters:
| Tool | Purpose |
|---|---|
| Grinder with kief catcher | Breaks flower into an even, consistent texture |
| Glass pipe or bong | Holds the bowl and directs airflow |
| Poker tool | Clears clogs and repacks between hits |
| Lighter or hemp wick | Ignites flower without adding harsh chemical taste |
| Ashtray or tray | Keeps your workspace clean and organized |
Once you've got these basics lined up, the actual packing technique becomes much easier to nail down. None of these tools are expensive or hard to find, but having them ready before you start saves you from fumbling mid-session, especially if you're new to loading a bowl by hand.
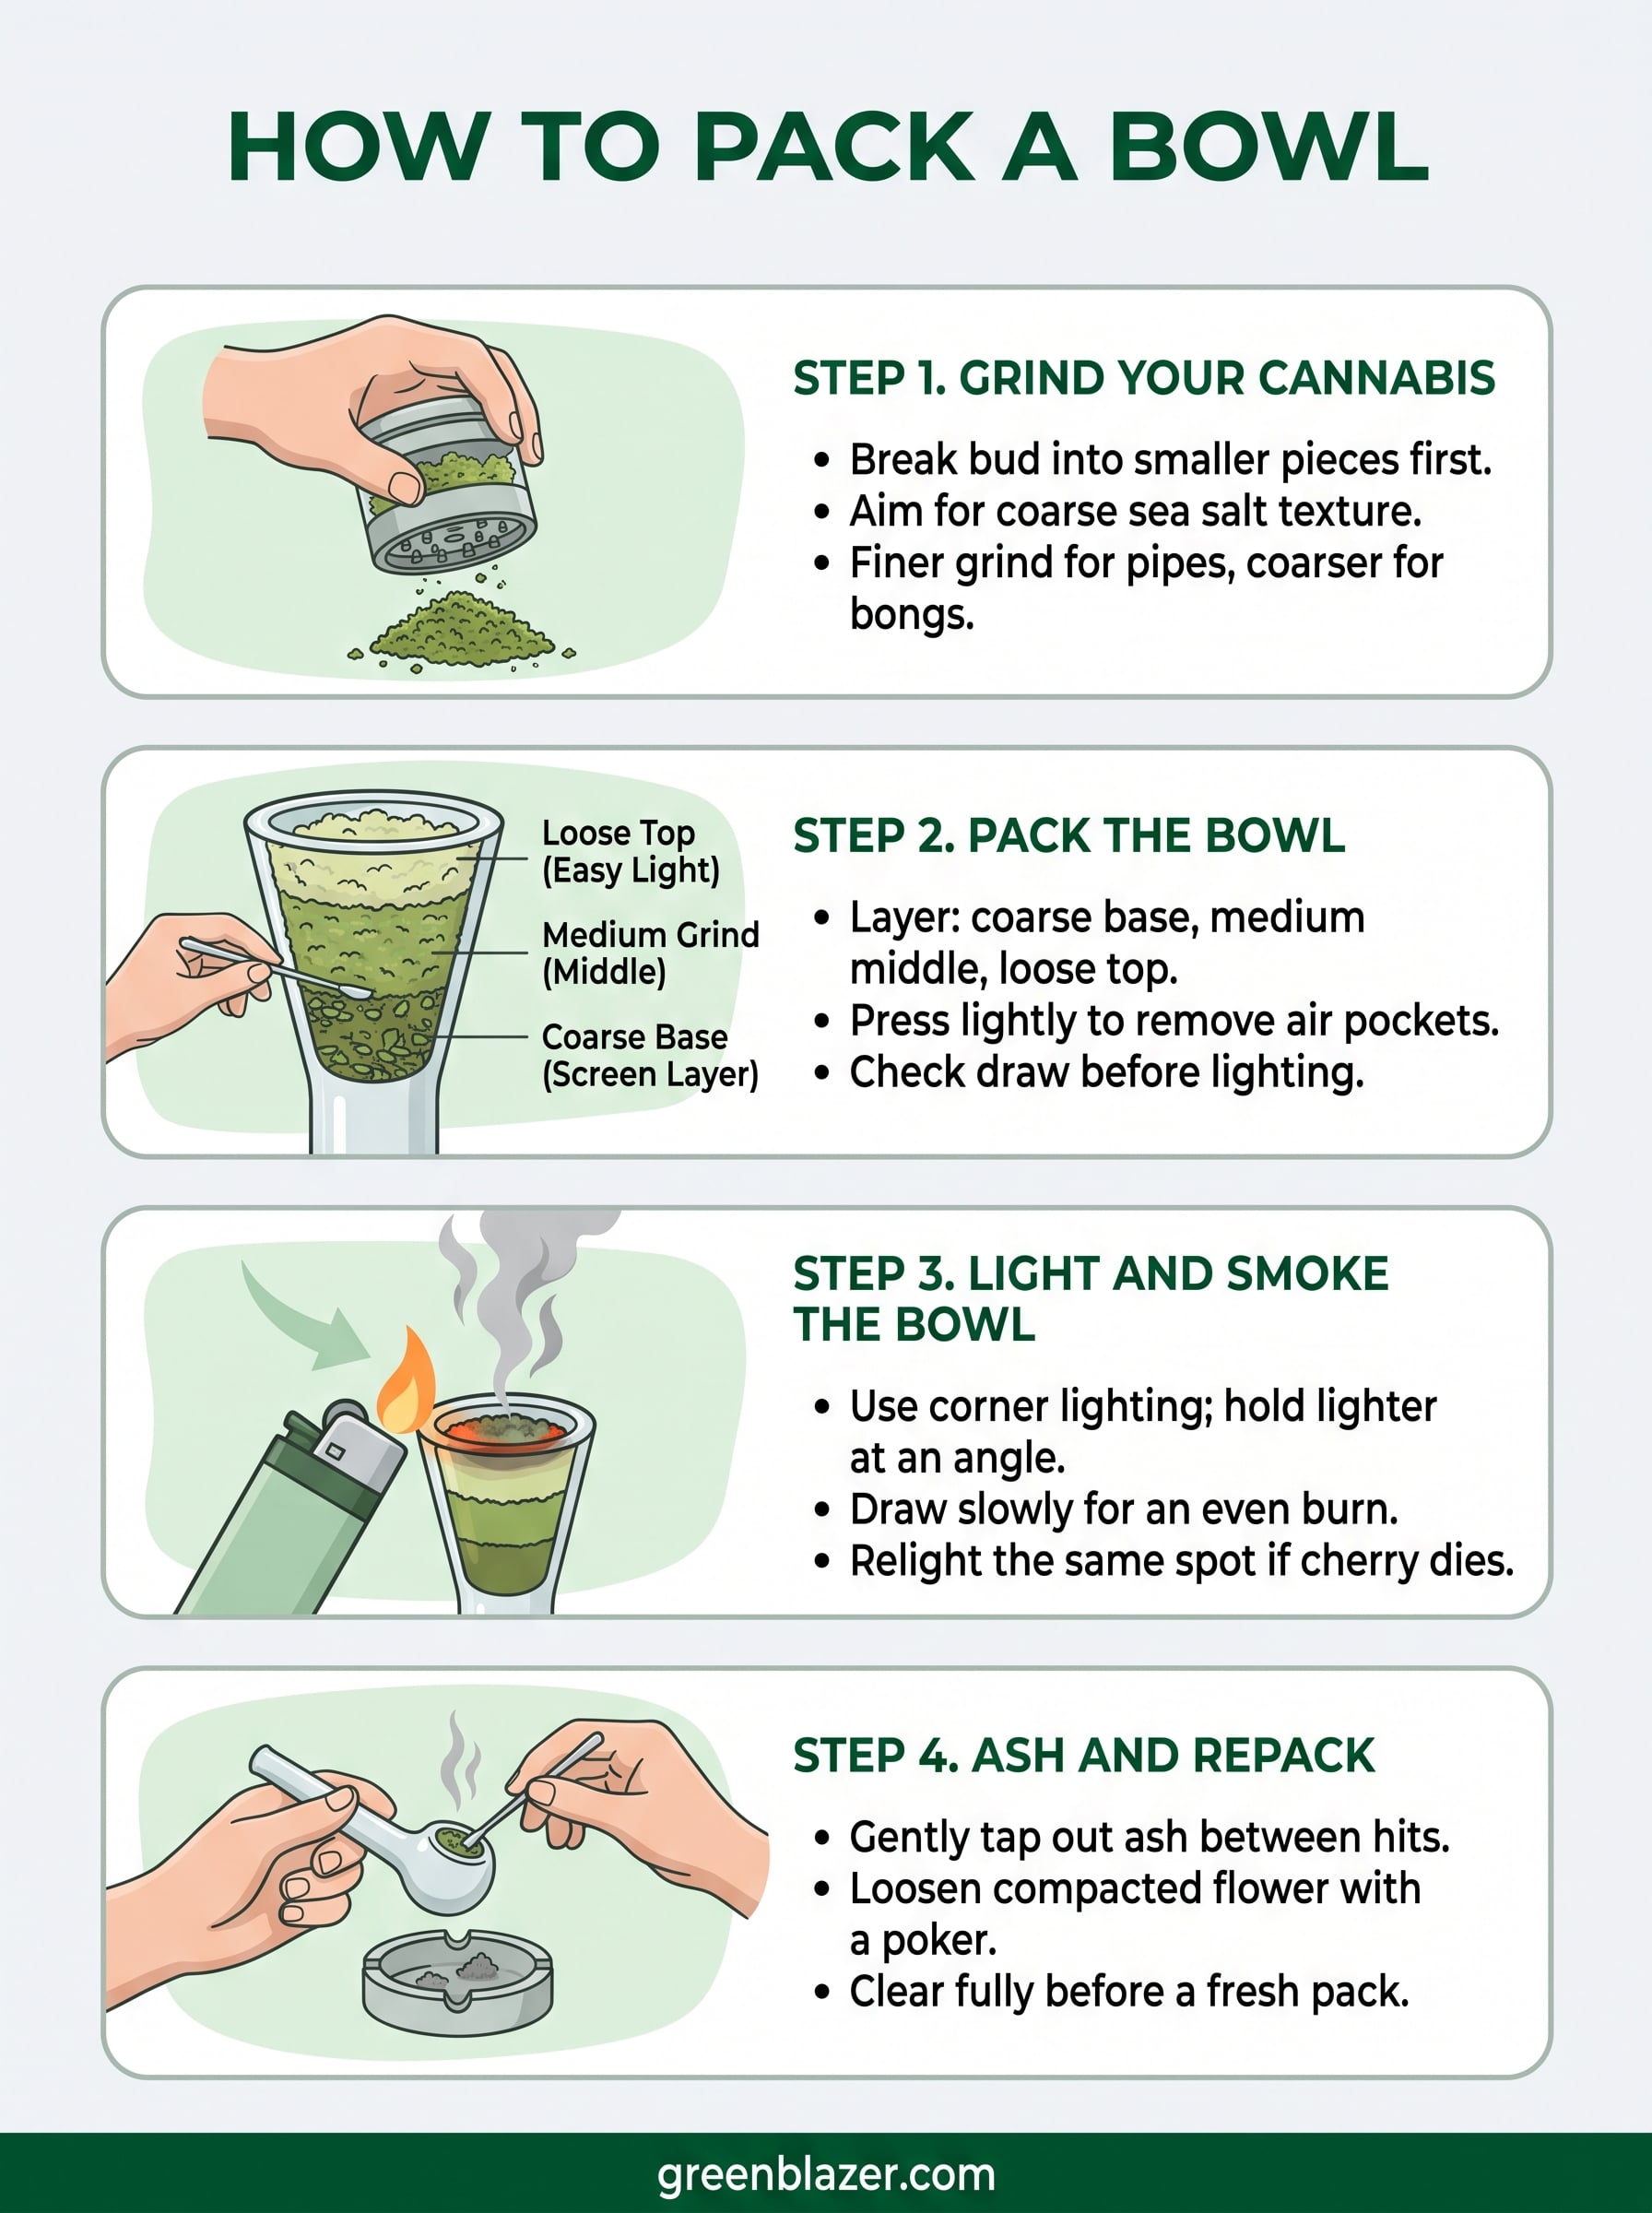
Step 1. Grind your cannabis
Start by breaking your bud into smaller pieces before it ever touches the grinder. This keeps the mechanism from jamming and helps you get a consistent grind on the first pass instead of forcing it through twice, and the same grinder settings that prevent overpacking apply here. Drop the pieces into the top chamber, twist several times, and check the texture before you dump it into the bowl.
Texture matters more than speed here. You want something close to coarse sea salt, fine enough to pack tight but not so fine it turns to dust. Powdery flower clogs the airway fast and pulls through the screen, giving you a harsh, ashy hit with almost no flavor, and flower that's too wet or too dry causes its own problems, which is why the ideal moisture level for your flower matters just as much.
Why grind size changes the burn
A finer grind works for pipes and bowls since the smaller surface area lights faster and burns evenly across the whole load. Bongs handle a slightly coarser grind better because the water filtration already cools and smooths the hit, so you don't need the extra surface area. If you're using a kief catcher, empty it every few sessions. Built-up kief clumps and throws off your grind consistency without you noticing.
Step 2. Pack the bowl
Layering is the trick most people skip. Drop a small pinch of coarser ground flower at the bottom of the bowl first, right over the screen. This acts as a filter, keeping loose bits from getting pulled through into your mouth on the first hit.
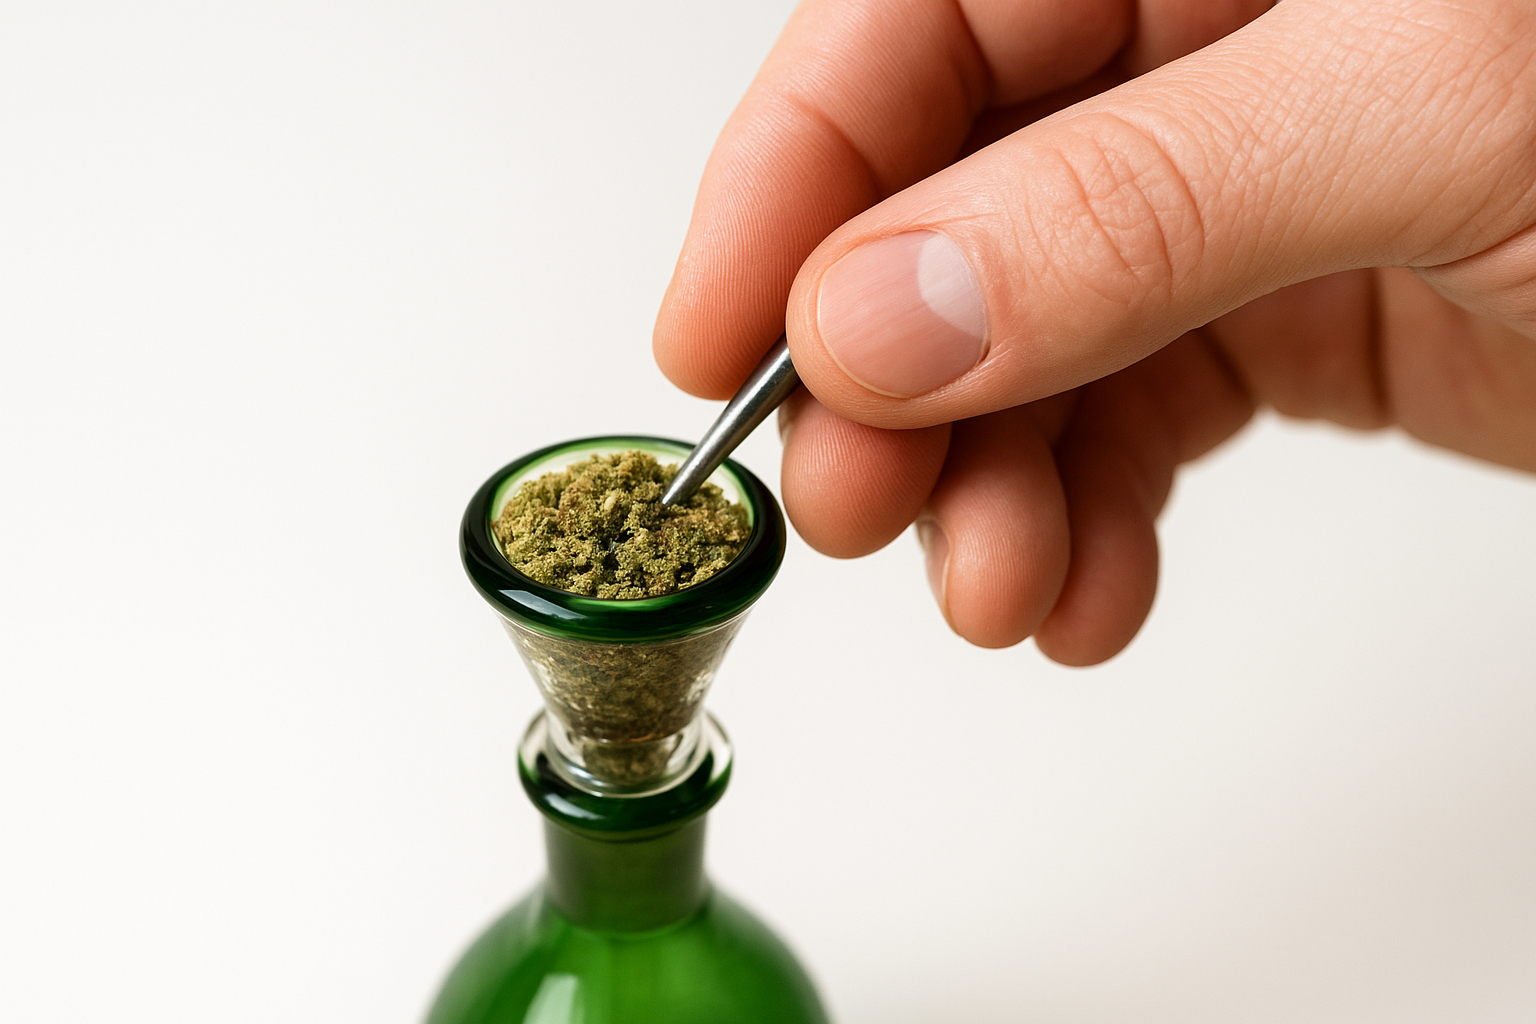
Follow that with your main grind, adding it in small amounts rather than one big dump. Press down lightly with your finger or the poker tool after each layer, just enough to remove air pockets without crushing the flower flat, since packing density shapes burn quality more than anything else you do.
A bowl packed too tight chokes your airflow; one packed too loose burns through in two hits.
Finish with a slightly looser top layer so your lighter catches easily without needing a hard pull. Here's the order that works every time:
- Coarse flower at the base (screen layer)
- Medium grind filling the middle
- Light, loose flower on top
Check the draw before lighting anything. Pull air through the piece with no flame; if it feels blocked, loosen the pack slightly. Getting this packing method right now saves you from repacking mid-session later.
Step 3. Light and smoke the bowl
Hold your lighter at an angle, not straight down, and skim the flame across the top of the bowl while pulling air slowly through the piece. This corner lighting technique lights only a portion of the flower at first, leaving the rest ready for your next hit instead of torching the whole bowl at once.
Draw steadily rather than yanking hard on the first pull. A slow, even inhale lets the cherry (the lit portion) spread naturally across the surface without burning through unevenly or wasting flower on the sides you haven't hit yet.
Light the edge, not the center, and your bowl will last three times longer.
Exhale, then check the bowl before your next hit. If the cherry died out, that's normal. Relight the same spot instead of a fresh corner to avoid wasting flower. Watch for these signs during your session:
- Even, gray ash forming means your pack and airflow are working correctly
- Black, sooty spots signal the draw pulled too hard or the pack was too loose
- Harsh, hot smoke usually means you lit too much flower at once
Step 4. Ash and repack for the next session
Tap the bowl gently against your palm or an ashtray between hits to knock loose ash off the top without disturbing the unburned flower underneath. Ash builds up fast and blocks airflow, so clearing it keeps your draw consistent instead of getting weaker with every pull.
Use your poker tool to break up any compacted spots left behind after a few hits. This is where repacking a bowl matters just as much as the first pack. Push gently on the edges to loosen flower that got pressed flat, then check the draw again before relighting.
A bowl that's ashed and loosened between hits smokes better than one left untouched from start to finish.
Once you've burned through most of the load, dump the remaining ash and any resin buildup before starting fresh. Leftover ash left sitting in the bowl mixes with new flower and gives your next session a stale, burnt taste. A quick habit checklist helps:
- Tap out ash between hits
- Loosen compacted flower with a poker
- Clear the bowl fully before repacking
- Wipe the piece if resin builds up
Packing a better bowl every time
Getting a smooth, even hit isn't about luck. It comes down to a consistent grind, patient layering, and treating your bowl between hits instead of ignoring it until it's cashed. Master those habits and you'll stop wasting flower on harsh, uneven sessions that end three hits too early.
None of this requires expensive gear or years of practice. A decent grinder, a poker tool, and the layering method from this guide will get you there faster than trial and error ever will. Pay attention to your draw, adjust your pack when it feels off, and light the edge instead of the center every single time.
If grinding and packing still isn't your thing some days, that's fair. See how to get the most out of RAW pre-rolls at Green Blazer for a pre-rolled option that skips the prep work but keeps the same clean, even burn you're after.
